Fresno Clovis Baby Photographer ~ Mother’s Day Photo Gift Idea
April 19, 2023

A Mother’s Day Photo Gift Idea.
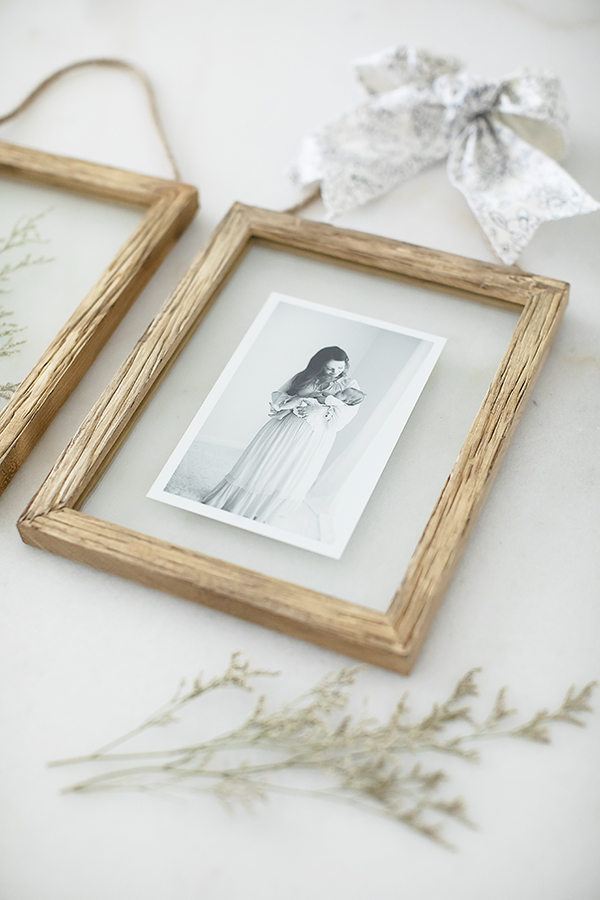
If you know me, you know I love a great photo gift idea. I shared this idea over on my instagram account a few years ago. You can see that video here. The entire project was under $20 and it took me just a little over 30 minutes to complete.
Here is what you will need:
*Ribbon with wire and (1-2) 5 x 7 floating frames from Hobby Lobby.
*4 x 6 bordered print from Bayphotolab.
*Sticky dots from Hobby Lobby.
*Supplies…scissors, glass cleaner, small pliers and a tiny flat head screwdriver.
This is how you do it:
- I started by removing the four pieces of wooden spine in the inner part of the frame. I did this carefully with my screwdriver. The spine was nailed in with tiny nail darts. You need a screwdriver small enough to wedge between the skinny wood pieces that were nailed in to secure the two pieces of glass. I twisted my screwdriver slowly and in different sections until it pried up enough for me to pull them off with my fingers. Do this part slowly. The nails stayed in place and you want that. Don’t pull them out. I’ll get to why in a second.
- I removed the pressed floral and cleaned the glass pieces (both sides. Let that dry completely.
- Then I took four tiny craft glue dots and put them in the four corners of the 4 x 6 photo. I centered the photo onto one side of the glass just by eye but if you want to be super precise about is, I would use a ruler. Try not to touch the glass with you fingers at this point to avoid finger prints within the inside floating glass panes.
- Lift the remaining glass up, touching only the sides if possible, and place this piece on top of your photo so that your photo is now pressed between both glasses.
- Now here is the tricky part…make sure you straighten the nails out so you can secure the wooden spine that secured the glass. They get kind of bent when you remove them from the frame. I used my pliers to straighten them out. Then take the exact spine pieces (you will see the holes that they were secured to so just line them up.) Very carefully press those spine pieces back into place. Do not use a hammer which might break the glass. This took the most time in the project because I wanted to make sure everything was secure.
- Clean the glass on both sides from any finger prints.
- Cut your ribbon to size. I used about one yard of ribbon for this project. Use a ribbon that has some wire in it to give it some shape.
Happy Mother’s Day!
Xo,
T
Motherhood sessions are offered year round here in my studio. I would love to begin planning a natural light Motherhood Session for you and your baby. Please inquire about my availability and current collections and Baby Plan membership savings through my inquiry form.
Tonya Riggs specializes in natural light portraits for newborn, baby, maternity, motherhood, family, and child photography in Clovis, California and the greater Fresno County Area. Her studio is located in Clovis, California. She also provides a limited number of travel sessions during the year to the Monterey Bay Area including Santa Cruz, Capitola, Soquel, Aptos, Watsonville, Carmel, Monterey and Salinas.
Clovis Newborn Photographer | Clovis Family Photography | Clovis Photographer | Clovis Baby Photographer | Fresno Newborn Photographer | Best Newborn Photographer Clovis and Fresno | Fresno Baby Photographer | Central Valley Baby Photographer | Central Valley Family Photography | Best Central Valley Baby Photographer | Santa Cruz Newborn Photographer | Santa Cruz Baby Photographer | Santa Cruz Maternity Photography | Designs By Tonya Photography | Tonya Riggs